
 The Holiday Collection

The short answer: the best DIY ornaments are cheap, simple ones you'll actually finish: salt dough shapes, paper ornaments, dried orange slices, cinnamon cutouts and keepsakes with a name and year. Most cost well under $1 each.
- Salt dough cutouts: under $0.25 each, 30 minutes plus baking
- Printable paper ornaments: under $0.20 each, 15 minutes
- Folded paper star: under $0.10, 10 minutes
- Plan: pick two or three styles and one evening to make a batch
- Next step: Plan it with the Christmas Budget & Gift Planner ($4.99).
The best DIY ornaments are the cheap, simple ones you'll actually finish: salt dough shapes, paper ornaments, dried orange slices, cinnamon cutouts and keepsake ornaments with a name and year on the back. Most cost well under $1 each and use flour, salt, cardstock, ribbon and things already in your kitchen or craft drawer. Pick two or three styles, set a small decoration budget, and plan one evening to make a whole batch.
I love the seasons and the little rituals a family repeats every year, and I keep cards for that reason. Homemade ornaments work the same way. They're inexpensive, they carry a memory, and they come back out every December. Below you'll find 20 ideas ranked by cost and time, step-by-step salt dough and paper methods, a free printable ornament page, and a budget plan for an ornament-making night.
20 DIY ornaments by cost, time and skill
Costs below are rough per-ornament estimates when you already own basics like scissors, glue and ribbon. Your local prices will vary.
| DIY ornament | Rough cost each | Hands-on time | Skill | Best for |
|---|---|---|---|---|
| Salt dough cutouts | Under $0.25 | 30 min plus baking | Easy | Big batches, painting |
| Salt dough handprint | Under $0.25 | 20 min plus baking | Easy | Keepsakes, grandparents |
| Printable paper ornaments | Under $0.20 | 15 min | Easy | Coloring, quick results |
| Folded paper star | Under $0.10 | 10 min | Easy | Scrap paper, kids |
| Paper strip ball | Under $0.15 | 15 min | Easy | Old cards, magazines |
| Accordion paper fan | Under $0.10 | 10 min | Easy | Wrapping paper scraps |
| Recycled Christmas card circles | Free | 10 min | Easy | Saved cards |
| Felt shapes with blanket stitch | $0.25 to $0.50 | 30 min | Medium | Toddler-safe trees |
| Cinnamon applesauce cutouts | $0.25 to $0.50 | 30 min plus drying | Easy | A spicy scent |
| Dried orange slices | $0.25 to $0.50 | 15 min plus oven time | Easy | Natural, rustic trees |
| Pinecone with ribbon | Free to $0.25 | 10 min | Easy | Outdoor finds |
| Cinnamon stick bundles | $0.50 to $1 | 10 min | Easy | Rustic looks, gifts |
| Melted peppermint shapes | $0.25 to $0.50 | 20 min | Medium | Red and white trees |
| Popsicle stick snowflakes | Under $0.25 | 15 min | Easy | Kids' crafts |
| Yarn-wrapped stars | Under $0.25 | 20 min | Easy | Using leftover yarn |
| Button trees on cardstock | Under $0.25 | 15 min | Easy | Older kids, high branches |
| Clear fillable ball with confetti | $0.75 to $1.50 | 10 min | Easy | Name and year ornaments |
| Clear ball with a saved card or recipe | $0.75 to $1.50 | 15 min | Easy | Memory ornaments |
| Wood slice with marker art | $0.50 to $1 | 15 min | Easy | Dates and names |
| Mini wreath from a jar lid ring | Under $0.50 | 20 min | Medium | Upcycling |
If you only have one evening, start with salt dough and paper. They need the least shopping and give you the most ornaments per dollar.
How to make salt dough ornaments
Salt dough is the classic budget ornament because it uses three pantry ingredients. Michigan State University Extension shares a simple salt dough ornament recipe that makes a small batch.
You'll need: 1 cup flour, 1/2 cup salt, 1/2 cup water, a rolling pin, cookie cutters, a straw, a baking sheet and parchment paper.
- Preheat the oven to 250 degrees Fahrenheit.
- Mix the flour and salt, then stir in the water until it comes together.
- Knead on a floured surface until the dough is smooth. Add a little flour if it's sticky.
- Roll the dough to about 1/4 inch thick.
- Cut shapes with cookie cutters and move them to an ungreased baking sheet.
- Poke a hanging hole near the top with a straw.
- Bake 2 to 3 hours, until the ornaments are completely dry.
- Cool completely, then paint and decorate.
- Seal every side with clear acrylic varnish so moisture can't soften them.
Tips that save batches:
- Roll evenly. Thick spots stay soft in the middle and can crack later.
- Press a handprint, a stamp or a lace doily into the dough before baking for texture.
- Write the name and year on the back with a fine paint pen once the paint is dry.
- Make the hanging hole a little bigger than you think. It shrinks slightly as the dough dries.
Food safety note: salt dough is a craft, not food. The University of Nebraska-Lincoln Extension's holiday salt dough guide points out that raw flour can carry germs such as E. coli. Nobody should taste the dough, and everyone should wash their hands before and after. Keep finished ornaments where pets can't chew them.
Paper ornaments and a free printable ornament template
Paper ornaments are the fastest DIY ornaments, and they're the easiest to fix if a cut goes wrong. You just print or trace another.
Free printable ornament page: our free Christmas coloring pages PDF includes a full page of three patterned ornaments. Print it on cardstock at 100 percent scale, color with markers or paint, cut out, punch a hole and add ribbon. It's a ready-made ornament template that we email to you.
Make your own ornament template:
- Trace a cookie cutter, a jar lid or a cup onto cardstock.
- For stars, trees and hearts, fold the paper in half and cut half the shape along the fold.
- Cut one sturdy master shape and trace around it for the rest of the batch.
- Use the master on felt, old cards, scrapbook paper or brown kraft paper.
Three paper ornament styles worth trying:
- Paper strip ball: cut 6 to 8 strips about 1/2 inch wide, stack them, fasten the ends with a brad, then fan the strips into a sphere.
- Folded paper star: fold a square in half both ways and on both diagonals, then cut in from the corners. It makes a simple 3D star.
- Christmas card circles: cut favorite designs from last year's cards with a round template, glue two back to back over a loop of ribbon, and you have a double-sided ornament.
Leftover tags make good mini ornaments, too. Our free printable Christmas gift tags come 24 to a 3-page PDF, and a punched tag with the year on the back hangs nicely on a small tree.
Natural and kitchen DIY ornaments
These bring color and scent to the tree, and many use things from the pantry.
- Dried orange slices: slice thin and even, blot well, and dry on a rack in a low oven for several hours, flipping occasionally. They're done when they feel stiff with no sticky spots. Thread twine through a small hole near the peel.
- Cinnamon applesauce cutouts: mix ground cinnamon with applesauce into a dough, roll it, cut shapes and dry them. Like salt dough, they can be baked low or left a few days to dry and harden. They aren't edible either.
- Melted peppermint shapes: arrange peppermint candies inside metal cookie cutters on a parchment-lined pan and melt briefly in the oven. An adult should handle this one, since melted sugar is very hot.
- Pinecones: brush off debris, let them dry indoors, then tie ribbon around the top. A dab of white paint on the tips looks like snow.
- Cinnamon stick bundles: tie three sticks together with twine and tuck in a sprig of greenery.
Keepsake DIY ornaments that tell a story
Some of the best ornaments aren't the prettiest. They're the ones that remind you of a year.
- Name and year ornaments: write a name and the year on a salt dough circle, wood slice or clear ball.
- Saved card ornaments: roll a strip from a favorite card and slide it into a clear fillable ball.
- Recipe ornaments: copy a family recipe card in your own handwriting, shrink it on a copier, and put it in a clear ball.
- Trip ornaments: fill a clear ball with a ticket stub, a map scrap or a little sand from a beach trip.
If your family already does a yearly ornament, our list of cheap family Christmas traditions has more ideas for keeping it simple. A homemade ornament also makes an easy daily activity, and our advent calendar ideas show how to slot one into December.
Best DIY ornaments by age and setting
| Situation | Best ornaments | Why |
|---|---|---|
| Toddlers (under 3) | Paper and felt shapes | No small parts or breakable pieces |
| Preschool | Salt dough painting, paper ornament page | Big shapes, simple steps |
| School age | Paper strip balls, popsicle snowflakes, yarn stars | More cutting and gluing |
| Teens and adults | Felt stitching, wood slices, peppermint shapes | Finer detail and heat steps |
| Classroom or group | Paper ornament page, salt dough cutouts made ahead | Low cost per person |
| Gift giving | Handprints, name and year, card ornaments | Personal and lasting |
Ornament night on a budget
A family ornament night can stay under about $20 if you plan the supply list first and use what you already own.
| Supply | Rough cost | Covers |
|---|---|---|
| Flour and salt (pantry) | $0 to $3 | Salt dough for a few dozen shapes |
| Cardstock pack | $5 to $8 | Printable ornaments and templates |
| Ribbon or twine | $2 to $4 | Hanging loops for the whole batch |
| Acrylic craft paint set | $3 to $6 | Salt dough and wood slices |
| Clear acrylic sealer | $5 to $8 | Sealing dough and paper |
How to keep it on budget:
- Decide your decoration total before you shop, and write it down.
- Shop your craft drawer, gift wrap bin and card box first.
- Buy one sealer and share it across every project.
- Skip single-use kits. Most cost more per ornament than raw supplies.
The Christmas Budget & Gift Planner ($4.99) splits your season total across gifts, food, travel and decorations, so craft supplies get their own line instead of sneaking into the grocery run. It also has a holiday calendar and to-do timeline, which is a good place to pencil in your ornament night.
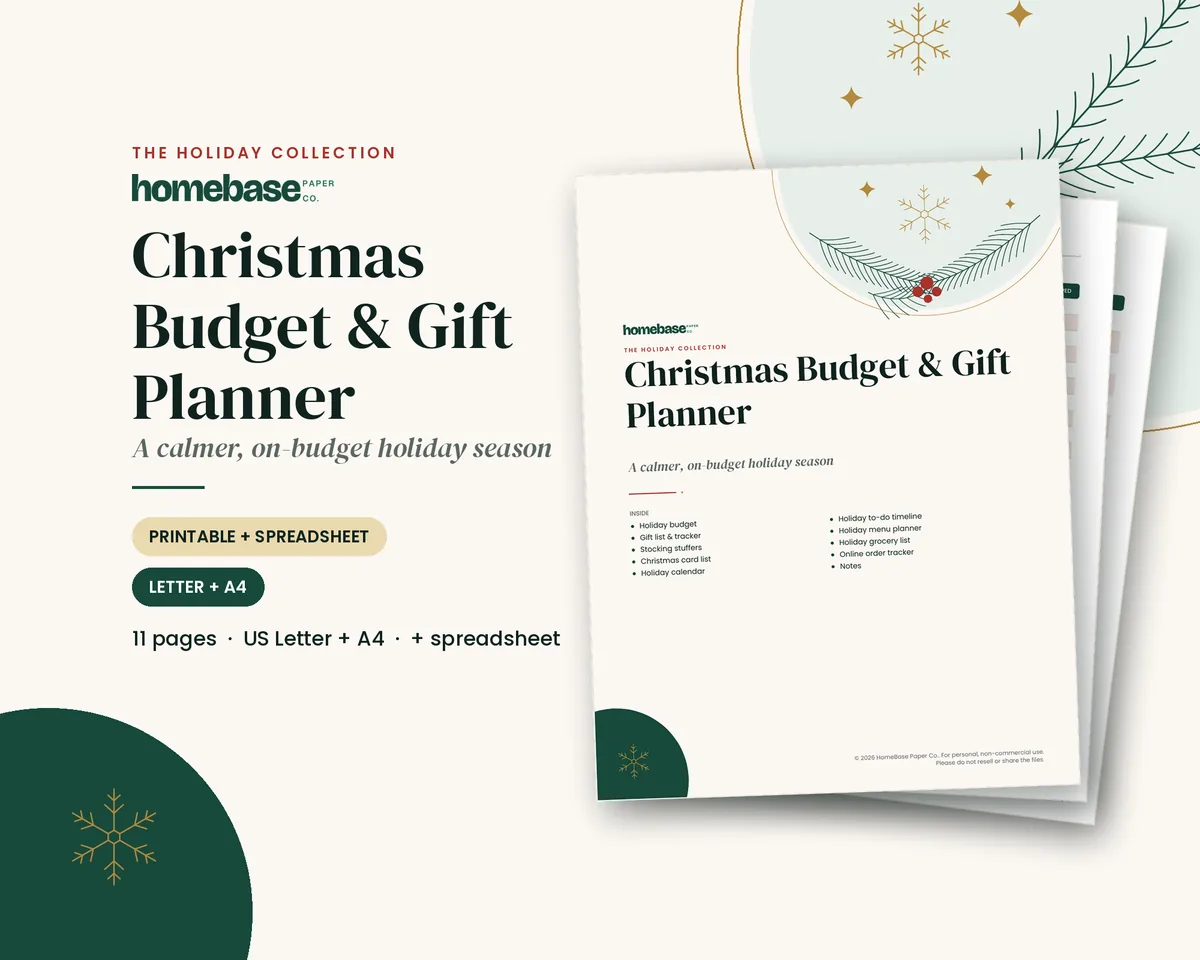
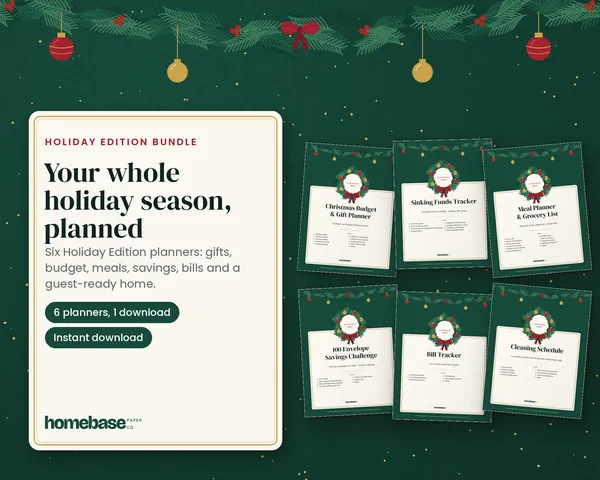
If you want to plan the whole season, the Holiday Season Bundle ($15.99) includes that planner plus a meal planner, a cleaning schedule, a sinking funds tracker, the 100 envelope challenge and a bill tracker. Browse every seasonal printable in the holiday shop or compare sets on the bundles page. For a no-cost start, the free Holiday Budget Starter Kit is 3 US Letter pages emailed to you after you join the list.
DIY homemade ornaments from things you already have
Before buying supplies, check the junk drawer and recycling bin. Homemade ornaments can start with:
- Wine corks: tie three together with ribbon, or add a screw eye for a hanger.
- Old Christmas cards: cut circles, stars or tags, punch a hole and add ribbon.
- Cardboard: trace a cookie cutter, cut it out and paint or wrap it in yarn.
- Mason jar lids: frame a family photo inside the ring.
- Buttons and twine: stack buttons from small to large on wire to make a mini tree.
- Clear plastic or glass balls you already own: fill with scraps of tinsel, ribbon or paper confetti.
Most need only scissors, glue and string, which makes them a good fit for a no-spend ornament night.
Safety tips for homemade ornaments
- Small parts: the U.S. Consumer Product Safety Commission's holiday safety tips say to keep small parts away from children under 3. Hang beaded, buttoned or glass ornaments up high.
- Oven and hot glue: adults should handle the oven, melted candy and glue guns.
- Candles: never use real candles near paper or dried-fruit ornaments, and never leave a lit candle unattended.
- Not food: label salt dough and cinnamon ornaments as crafts so nobody mistakes them for cookies.
- Paint and sealer: use sealers in a ventilated room and follow the label.
How to hang and store DIY ornaments
Lightweight paper and felt ornaments do well on the tips of branches. Hang heavier salt dough and wood slices closer to the trunk, where branches are stronger. For more on placement, see how to decorate a Christmas tree.
After the holidays, wrap each handmade ornament in tissue and store it in a sturdy, dry box. Our guide to organizing Christmas decorations covers boxes, labels and fragile pieces.
If you're making ornaments to give away, our homemade Christmas gifts list pairs well with them. And if you're comparing the cost of a homemade tree with a store-bought one, see how much a Christmas tree costs.
Pick two ornaments and start this week
You don't need a craft room to make DIY ornaments. Choose one dough ornament and one paper ornament, set your decoration budget, and put an ornament night on the calendar. The ones you make this year will be the ones you're happiest to unwrap next December.
Make the top of the tree too: see our DIY Christmas tree topper ideas, from cardboard stars to cinnamon stick stars.

The Holiday Collection
Give every person a limit and watch what's left
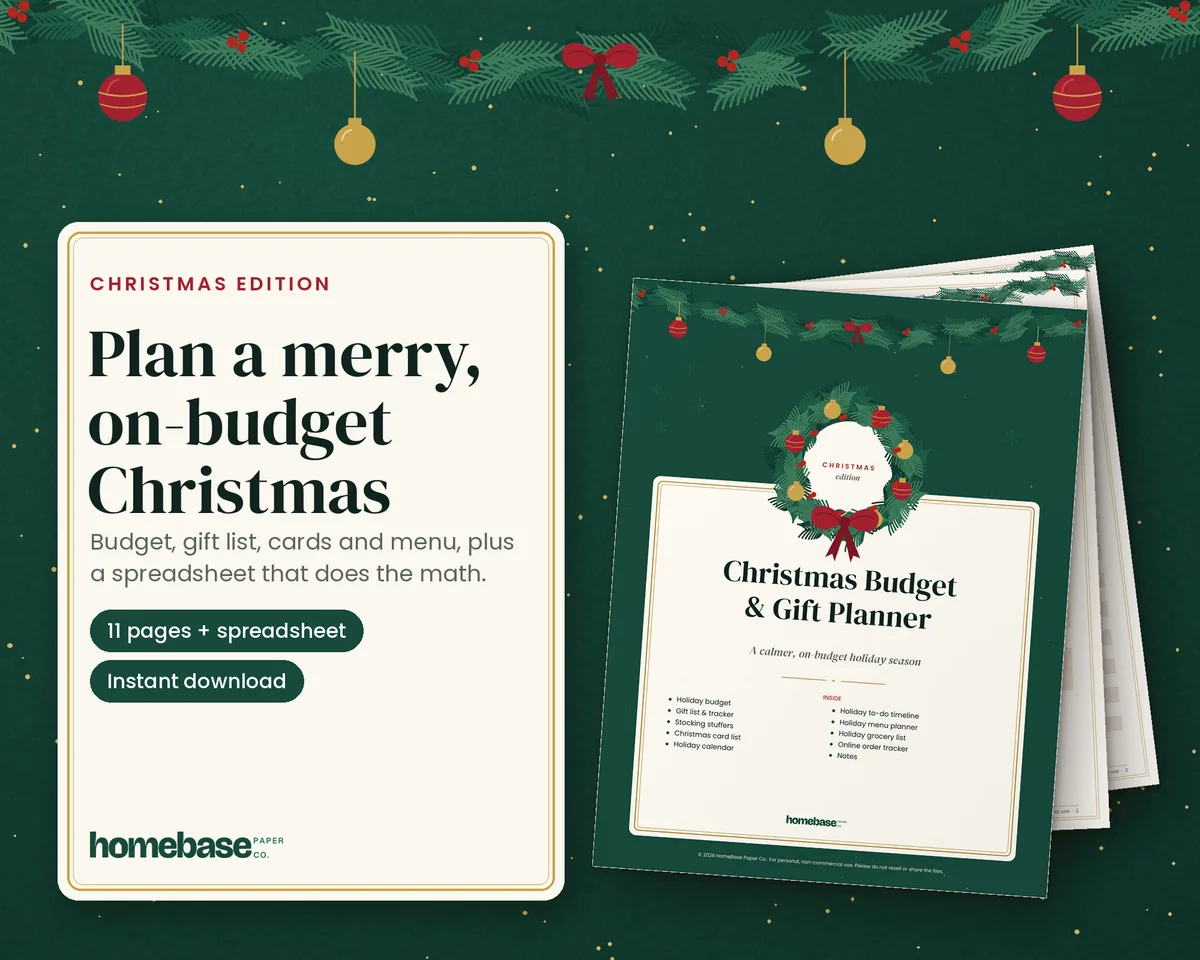
The Christmas Budget & Gift Planner adds up every list for you: a budget for each person, a log of each purchase and the amount left to spend, plus printable gift, card, menu and to-do pages.
- Spreadsheet for Excel and Google Sheets
- 11 printable pages, US Letter + A4
- Instant download, 14-day fix-or-refund promise
Planning the whole season? See the holiday sets from $7, with early prices through Cyber Monday
Make it easier
Tools for this
Printables
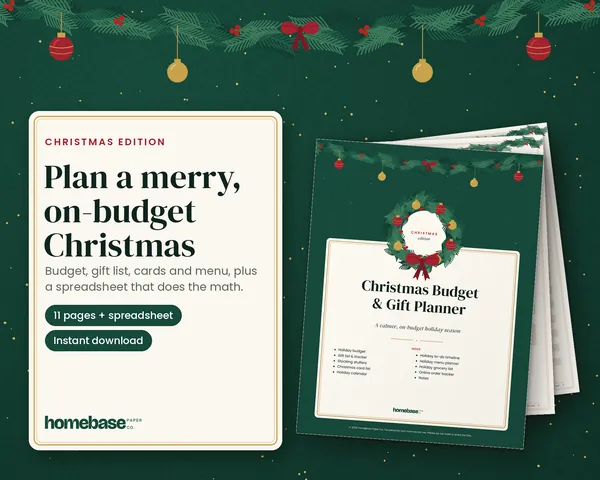
Christmas Budget & Gift Planner
Set a budget for every person, log each purchase, and watch what's left - plus printable gift, card, menu and to-do pages.
 Save 38%
Bundles
Holiday Season Bundle
Plan Christmas, save for it all year, and host without the January money hangover.
Frequently asked questions
What are the easiest DIY ornaments to make? The easiest DIY ornaments are paper ones, and our free Christmas coloring pages include a ready-made ornaments page you can print on cardstock, color, cut out and hang with ribbon. Salt dough shapes, paper chain loops and folded paper stars are close behind, and none of them needs special tools.
What is the cheapest way to make Christmas ornaments? Salt dough is the cheapest way to make a big batch of ornaments, because flour, salt and water are pantry staples. Paper ornaments cut from cardstock, old cards or the free printable ornament page cost almost nothing, and the Christmas Budget & Gift Planner ($4.99) gives decorations their own budget line so craft supplies don't creep up.
How do you make salt dough ornaments? Michigan State University Extension's salt dough recipe uses 1 cup flour, 1/2 cup salt and 1/2 cup water. Knead, roll to 1/4 inch, cut shapes, poke a hanging hole with a straw, then bake at 250 degrees Fahrenheit for 2 to 3 hours until completely dry. Cool before painting and seal with clear acrylic varnish.
How long do salt dough ornaments last? Salt dough ornaments can last for many years if they are dried all the way through and sealed. Moisture is what ruins them, so coat every side with clear acrylic varnish and store them wrapped in tissue in a dry box, not in a damp basement or garage.
Can you eat salt dough or cinnamon ornaments? No, salt dough and cinnamon applesauce ornaments are crafts, not food. The University of Nebraska-Lincoln reminds families that raw flour can carry germs such as E. coli, so nobody should taste raw dough, and everyone should wash their hands before and after handling it.
Where can I find a printable ornament template? Our free Christmas coloring pages PDF includes a page of three patterned ornaments that works as a printable ornament template. Print it on cardstock at 100 percent scale, color it, cut it out and punch a hole for ribbon. You can also trace cookie cutters or jar lids onto cardstock to make your own template.
What can I use instead of an ornament template? Cookie cutters make the best stand-in for an ornament template because they give you clean shapes you can trace onto paper, felt or cardstock. Jar lids and cups make circles, and folding paper in half before cutting gives you symmetrical stars, trees and hearts.
How do you make DIY ornaments with kids? Pick one or two ornament styles, set out only the supplies those need, and let kids do the parts they can handle, like cutting with safety scissors, painting or threading ribbon. Adults should handle the oven and hot glue, and small beads and buttons should stay away from children under 3.
Are DIY ornaments safe for toddlers? Paper and felt DIY ornaments are the safest choice for homes with toddlers. The U.S. Consumer Product Safety Commission advises keeping small parts away from children under 3, so skip beads, buttons and glass on the lower branches and hang breakable or tiny pieces up high.
How do you dry orange slices for ornaments? Slice oranges thin and even, blot them well with towels, and dry them on a rack in a low oven for several hours, flipping now and then. They are done when they feel dry and stiff with no sticky spots, and thinner slices dry faster and look clearer when light shines through.
How much does it cost to make homemade ornaments? Most homemade ornaments cost well under $1 each, especially when you use pantry staples, scrap paper and ribbon you already own. Set a total first in the Christmas Budget & Gift Planner ($4.99), shop with a short list, and a full ornament night for a family can stay under about $20.
Can you give DIY ornaments as gifts? Yes, DIY ornaments make thoughtful gifts for grandparents, teachers and neighbors, and you can label each one with our free printable Christmas gift tags. Add the year and the maker's name on the back so the ornament turns into a keepsake.
How do you store handmade ornaments? Store handmade ornaments wrapped in tissue paper in a sturdy box with dividers, kept somewhere dry and away from heat. Salt dough and paper ornaments soften in humidity, so keep them out of damp basements and label the box so they come out first next year.
How do you seal paper ornaments so they last? Paper ornaments last longer when they are printed on cardstock and sealed with a thin coat of clear acrylic sealer or decoupage medium on both sides. Let each side dry fully, and laminate tags or name ornaments if little hands will be handling them.
More from HomeBase
You may also like
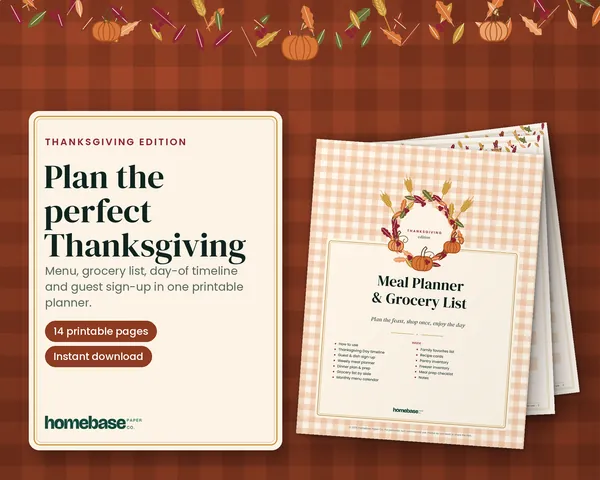 Thanksgiving Edition
Printables
Meal Planner & Grocery List: Thanksgiving Edition
Plan the perfect Thanksgiving: our meal planner in a warm harvest design, with a Thanksgiving Day timeline, a guest & dish sign-up, an aisle-sorted grocery list and pantry and freezer trackers.
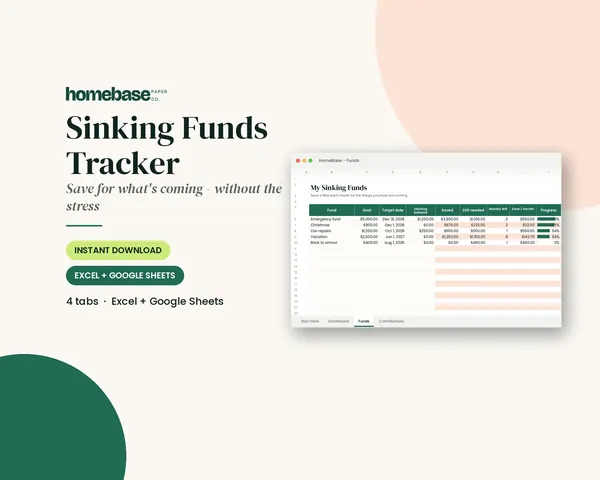
Spreadsheets
Sinking Funds Tracker
It does the math: how much to set aside each month to hit every goal on time.
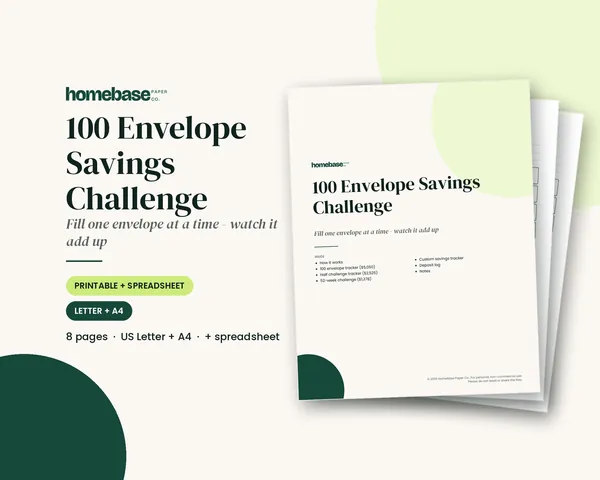 Starter pick
Printables
100 Envelope Savings Challenge
Classic, half and 52-week challenges to print, plus a spreadsheet that tracks every envelope and tells you how much to save each week.
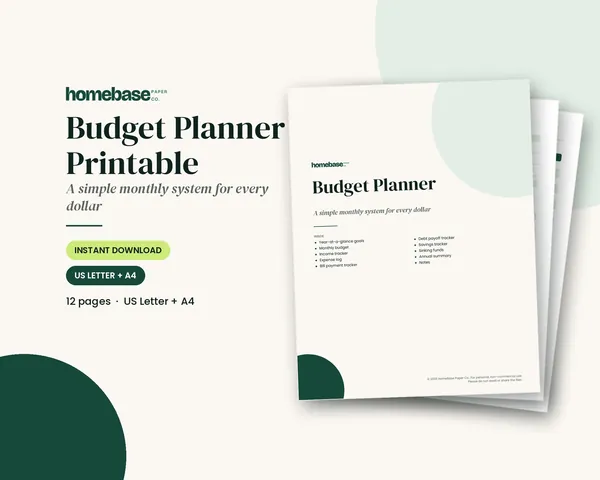
Printables
Budget Planner Printable
Twelve undated pages you can print every month: budget, bills, spending, savings and debt.
 Club
Monthly club
Money Club
Anyone who wants a clear plan for the month's bills, holiday spending and savings.
Free printable
Get the free Holiday Budget Starter Kit
A one-page holiday budget, a gift list with a spending limit for every person, and a 6-week countdown so December stays calm and paid for. You'll also get our weekly HomeBase email with simple holiday planning, budgeting and hosting tips.
