

The short answer: Start pumpkin carving with a bold design that uses a few large openings: a smiling face, crescent moon, cat silhouette or row of stars. Draw the pattern first, leave generous bridges between cuts and have an adult do the carving.
Our picks for pumpkin carving ideas
Printables
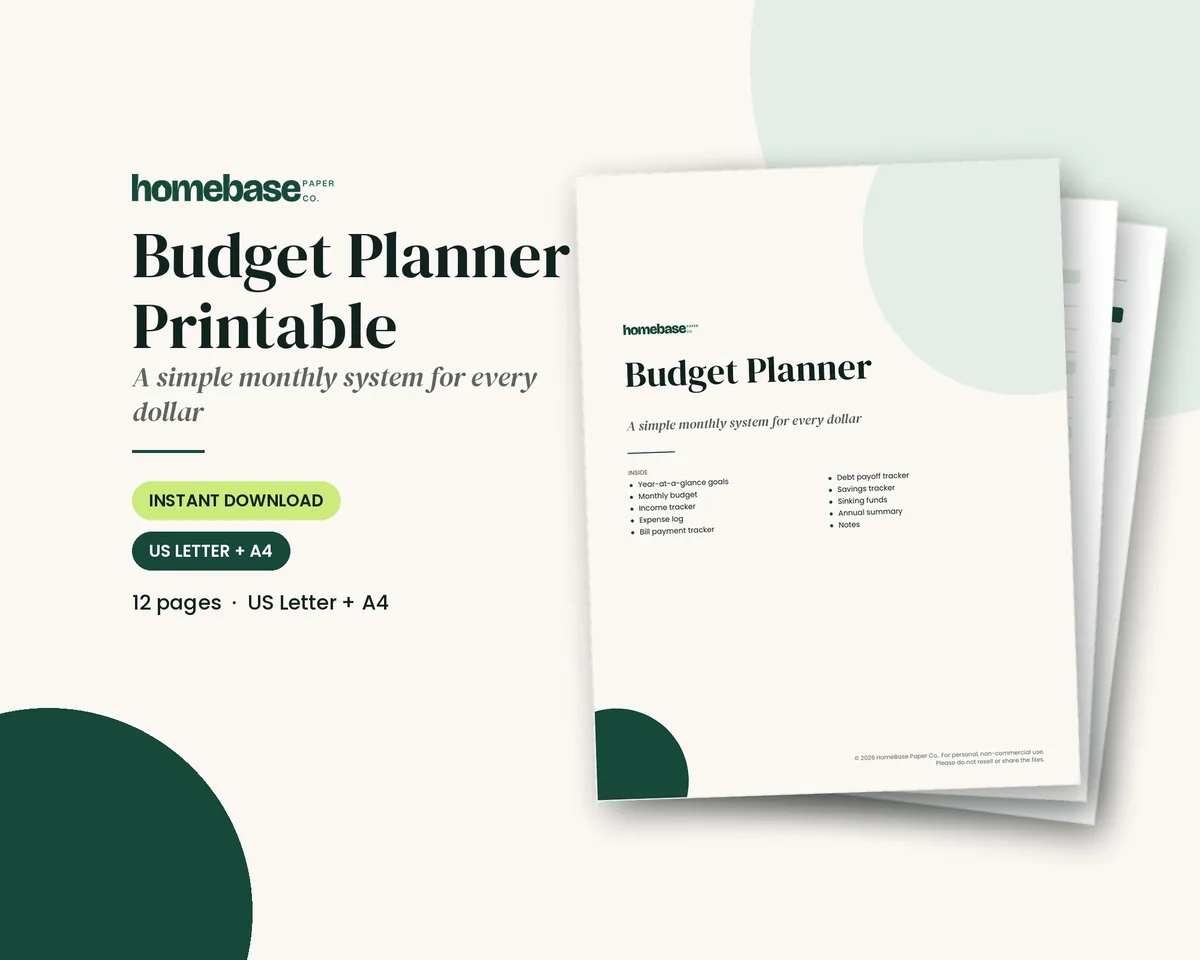
Budget Planner Printable
Twelve undated pages you can print every month: budget, bills, spending, savings and debt.
These pumpkin carving ideas are written design prompts, not downloadable stencils or photos of finished projects. Choose a design that fits the pumpkin you actually have. A wide, uneven pumpkin may suit a sleepy face better than a precise symmetrical pattern.
Simple pumpkin carving ideas with broad shapes
- Classic grin: two triangle eyes, one triangle nose and a broad smile. Keep the teeth large enough to remain supported.
- Sleepy face: curved eyelids and one small open mouth. Use fewer cuts if the surface has deep ridges.
- Surprised face: round eyes and an oval mouth. Change the eye sizes for a slightly silly expression.
- Winking face: one open eye, one curved eyelid and a side smile. Sketch the curves before cutting.
- One-tooth smile: a wide mouth with a single chunky tooth attached at the top. Avoid a thin hanging point.
- Raised eyebrows: a simple mouth and two separate eyebrow openings. Give each eyebrow ample space above the eyes.
- Friendly monster: three eyes and a broad zigzag mouth. Keep every zigzag point blunt and substantial.
- Big moustache: two simple eyes above a large moustache-shaped opening. Draw the ends thick rather than tightly curled.
- Tiny face on a large pumpkin: cluster three small, simple openings in the center. Leave the rest uncut for contrast.
- Off-center grin: place the face to one side and let the natural shape become part of the character.
Night-sky and nature designs
- Crescent moon: cut one large curved opening with a broad surrounding border.
- Three-star cluster: use three separated stars rather than a field of tiny points.
- Comet: make a round head and two simple trailing openings. Do not cut a fragile narrow connection.
- Mountain skyline: draw a low band of broad peaks. Keep enough pumpkin below and above it for support.
- Leaf silhouette: choose one uncomplicated leaf outline and leave out thin vein details.
- Acorn pair: use two large shapes spaced apart. Add cap details with paint rather than extra cuts.
- Sunrise: cut a half-circle and several separate broad rays, leaving thick dividers.
- Rain cloud: one cloud opening above three spaced teardrops makes a graphic pattern.
- Mushroom: use a broad cap and short stem, keeping the overall outline simple.
- Wave: draw one rolling shape across the front. Avoid wrapping a deep cut around the entire pumpkin.
Animals, spooky shapes and lettering
- Cat face: triangular eyes with painted whiskers. Painting the whiskers avoids narrow unsupported cuts.
- Owl eyes: two large circles or ovals with a simple beak between them.
- Bat silhouette: use a broad body and rounded wings instead of many sharp wing tips.
- Ghost: a tall rounded shape with a wavy base. Paint facial details if carving them would be cramped.
- Spider: make a round central shape and paint the legs. Eight narrow carved legs are harder to support.
- Monster footprint: one broad pad and a few large toes, spaced well apart.
- Haunted window: create four broad panes with thick pumpkin dividers. Add a paper backdrop only where it cannot touch a light or heat source.
- Simple initial: select a chunky letter. Plan bridges for enclosed centers before cutting.
- Short word: try BOO in large block letters. A long phrase creates unnecessary small sections.
- House number: use large digits that can be read from a distance, without replacing your normal address display.
Grouped displays and no-carve companions
- Three expressions: give three pumpkins a happy, surprised and sleepy face. Repeating the same eye shape makes the group cohesive.
- Moon and stars: carve one moon pumpkin and one star pumpkin. Group them at different heights on stable supports.
- Monster family: vary the number of eyes while keeping mouths simple. Each person can design a face on paper.
- Paint-and-carve pair: carve one pumpkin and paint its companion in matching colors. This also gives non-carvers a complete project.
- Neighborhood row: assign one bold shape to each pumpkin. Let spacing and repetition do the work instead of carving more detail.
Turn a design into a workable pattern
Clean and dry the outside before drawing. Pick the face you want displayed, then sketch your idea on paper at roughly the same size. Hold the drawing against the pumpkin and simplify shapes that cross deep ridges.
Mark the sections you intend to remove so a shaded area cannot be mistaken for a piece you need to keep. Letters and enclosed shapes need bridges: an unsupported island will fall out when the surrounding area is removed. If the design looks crowded, reduce the number of elements rather than shrinking every cut.
Set up a stable work area, assign carving to an adult and let children handle drawing or decorating. Health Canada recommends adult pumpkin carving. Keep tools off the floor and pause the project when the table becomes crowded.
Lighting and displaying the finished pumpkin
Use a battery-operated light rather than an open flame. Texas fire-safety guidance covers decoration and fire precautions. Keep the display clear of the walking route and follow the light manufacturer's instructions.
Before buying supplies, list what is already available: marker, paper, suitable tools and a light. Avoid a complicated project that needs a separate shopping trip for each detail. The Budget Planner Printable ($5.99) can hold a seasonal spending limit; see Printables for planning options.
For an evening built around one main activity, choose a carving session or a Halloween movie night, then keep the rest simple. The family budget guide helps assign money to occasional events without losing track of bills. A recognizable design and an uncrowded workspace are a useful stopping point.
Budget Planner Printable
Twelve undated pages you can print every month: budget, bills, spending, savings and debt.
$5.99 · Instant download. Print at home or fill it in on screen. Or browse the full Budget & Money collection.
Frequently asked questions
What pumpkin carving design is easiest for beginners? A simple face with large eyes and a broad mouth is an approachable pumpkin carving design for a beginner. Large shapes need fewer tight turns than detailed lettering or lace-like patterns. Draw the complete design first and leave thick sections between openings.
Can children take part without carving? Children can participate in pumpkin decorating by drawing a face, choosing shapes or painting an uncarved pumpkin. Have an adult handle the carving tools. A no-carve project is a complete activity and does not need to imitate the carved version.
Does this page include printable pumpkin stencils? This pumpkin carving guide provides written design prompts and planning advice, not printable stencil files. Sketch a chosen idea on paper and adapt it to the size and ridges of your pumpkin before an adult begins carving.
Free printable
Get the free Holiday Budget Starter Kit
A one-page holiday budget, a gift list with a spending limit for every person, and a 6-week countdown so December stays calm and paid for. You'll also get our weekly HomeBase email with simple holiday planning, budgeting and hosting tips.

Sources
- Health Canada: Halloween safety canada.ca
- Texas Department of Insurance: Halloween fire safety tdi.texas.gov