

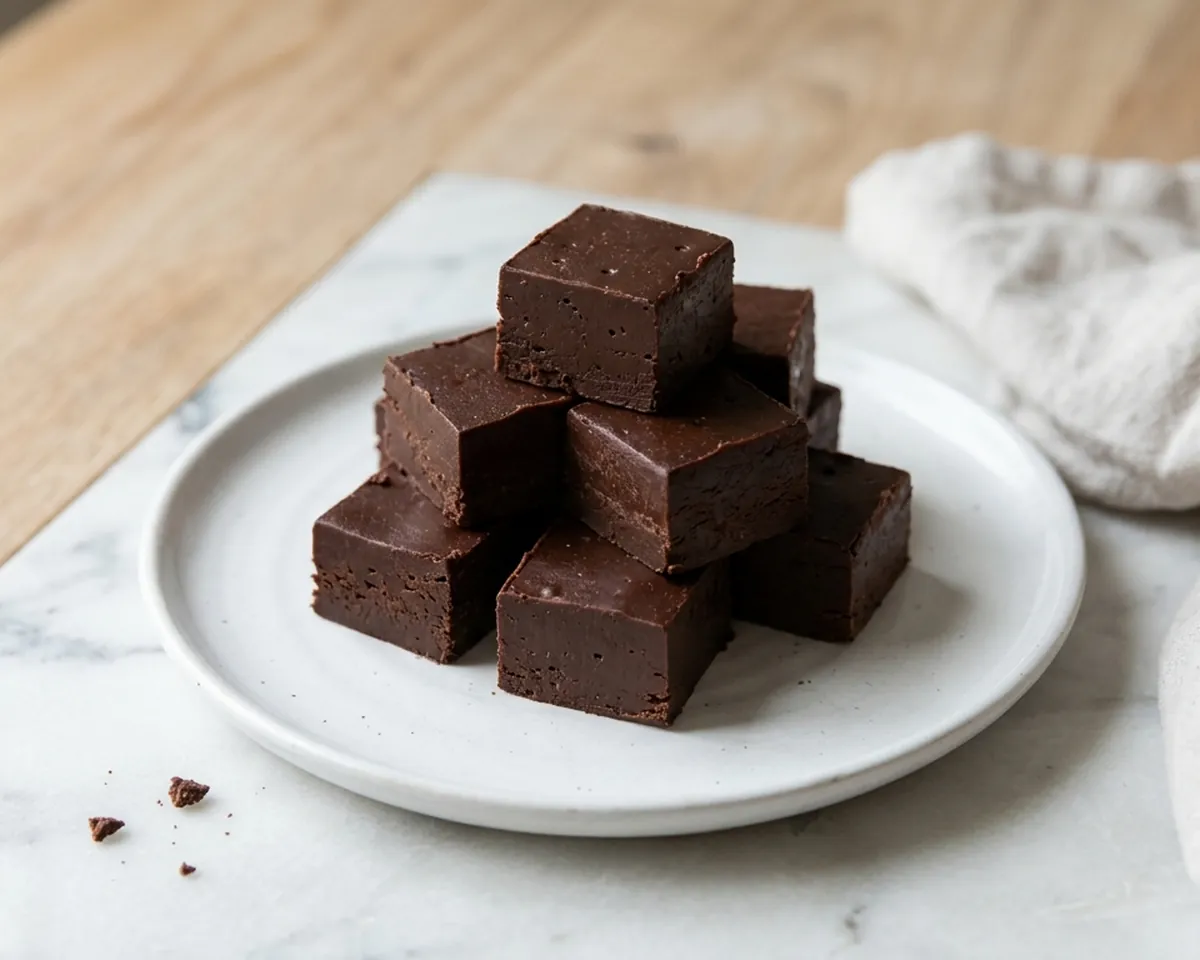
The short answer: This fudge recipe melts 3 cups of semisweet chocolate chips with a 14-ounce can of sweetened condensed milk, then adds vanilla. Spread in a lined 8-inch square pan and chill until firm. Butter and salt are optional. The cooked marshmallow-creme version below uses a different method: follow its stirring and temperature instructions rather than mixing the two recipes.
Prep time: 5 minCook time: 5 minTotal time: 2 hr 10 minServings: 64 piecesTotal includes 2 hr of resting, chilling or rising.
Save the version you make, its cooling time and your favorite additions in the Family Recipe Binder.
Fudge recipe ingredients and equipment
| Ingredient | Amount | Notes |
|---|---|---|
| Semisweet chocolate chips | 3 cups (18 ounces) | Use the full amount for the setting ratio |
| Sweetened condensed milk | One 14-ounce can | Not evaporated milk |
| Vanilla extract | 1 teaspoon | Add after heating |
| Butter, optional | 2 tablespoons | For the richer version |
| Salt, optional | A pinch | Or a little flaky salt on top |
| Chopped nuts, optional | Up to 1 cup | Check allergies before adding |
The first 3 ingredients make the base recipe; butter, salt and nuts are additions. You do not need marshmallow creme, granulated sugar or a candy thermometer for this version. The recipe makes 64 small pieces when an 8-inch square is cut into an 8-by-8 grid. Choose larger pieces if serving on a dessert plate rather than packing little candy cups.
Gather an 8-inch square pan, parchment or foil, a heavy saucepan, a heatproof spatula, measuring tools, a cutting board and a sharp knife. Leave lining over opposite edges of the pan so the slab lifts out. Keep your work area clear before starting: the mixture becomes thick quickly once it leaves the heat.
How to make condensed-milk fudge, step by step
- Prepare the pan. Line the 8-inch square pan, pressing the paper into the corners and leaving lifting handles. Set it beside the stove before melting anything.
- Combine the melting ingredients. Put the chocolate chips and sweetened condensed milk in the heavy saucepan. Add the optional butter now if using it.
- Melt over low heat. Stir across the bottom and corners until the mixture is smooth, about 5 minutes. Take the pan off the heat once the remaining small pieces can melt with stirring. Do not bring this version to a candy-making boil.
- Add the flavoring. Stir in the vanilla and optional salt off the heat. Fold in nuts now, if using, so they are distributed before the mixture thickens further.
- Fill the pan. Scrape the mixture into the lined pan. Push it into the corners and level the surface with the spatula; it is a thick mixture rather than a freely flowing sauce.
- Chill until firm. Refrigerate for 2 to 3 hours. The center should hold its shape when the slab is lifted. If it bends or smears heavily, give it more chilling time before deciding that the recipe has failed.
- Cut and pack. Lift the slab onto the board by the lining. Cut with a sharp knife, wiping the blade between cuts. For the stated yield, divide each side into 8 equal sections.
Nutrition (per serving, estimated)
Serving size: 1 piece.
| Calories | 60 |
|---|---|
| Total fat | 3 g |
| Saturated fat | 2 g |
| Cholesterol | 0 mg |
| Total carbohydrate | 8 g |
| Dietary fiber | 0 g |
| Total sugars | 8 g |
| Protein | 1 g |
Excludes ingredients listed without an amount (to taste, for serving, for the pan). Excludes optional ingredients and garnishes. Sodium is not shown because salt or salty items are added to taste.
This is an estimate calculated from USDA FoodData Central data for the listed ingredients and amounts. Actual values vary with brands, portions and substitutions.
Timing: Allow about 5 minutes to assemble the ingredients and line the pan, 5 minutes for melting, then at least 2 hours for chilling. The visible time row includes that minimum chill. A deeper pan or warm mixture may need the longer end of the chilling range. Cutting and decorating are additional finishing tasks.
Microwave method
Combine the chips, condensed milk and optional butter in a microwave-safe bowl. Heat in 30-second bursts, stirring thoroughly between bursts and scraping around the bowl. Stop when stirring can finish melting the last small chips; do not keep heating just to make the mixture thinner. Add vanilla off the heat, then spread and chill as above. Microwave power varies, so use the texture rather than assuming a fixed number of bursts.
A bowl that feels cool outside can still hold very hot chocolate. Use appropriate protection when handling it and keep the bowl stable while stirring. Do not use a metal utensil in the microwave.
Rate this recipe
Which fudge method should you choose?
| Method | What makes it set | Equipment | What to expect |
|---|---|---|---|
| Condensed milk and chocolate | Chocolate firms as it cools | Saucepan or microwave; square pan | Dense, smooth chocolate candy; no boiling or beating |
| Cooked marshmallow-creme fudge | Cooked sugar mixture plus chocolate and creme | Heavy pan and candy thermometer | A cooked chocolate fudge with a separate boiling stage |
| Traditional beaten sugar fudge | Controlled sugar crystallization | Follow a dedicated traditional recipe | Cooling and beating instructions belong to that specific recipe |
| Cream-cheese cocoa fudge | Chilled dairy mixture | Mixing bowl; refrigerator | A different recipe with different storage needs |
Choose the condensed-milk recipe for the shortest ingredient list. Choose the cooked version when that is the family recipe you want to preserve. Neither method is improved by borrowing only half the steps from the other. In particular, adding evaporated milk to the no-boil version or waiting to beat the marshmallow-creme version as though it were traditional sugar fudge changes how it behaves.
Some recipes online use cream cheese. That is a different formula: follow that recipe's own directions and refrigeration guidance rather than substituting it into either recipe here.
Classic cooked fudge with marshmallow creme
This is the cooked version. It uses evaporated milk, granulated sugar and marshmallow creme. Have the chocolate, creme and vanilla measured before the sugar mixture reaches temperature. Use a candy thermometer for this method rather than relying on the clock alone.
| Ingredient | Amount | Check before cooking |
|---|---|---|
| Granulated sugar | 3 cups | Measured and ready to dissolve |
| Evaporated milk | ⅔ cup | Measure it; do not pour in a large can |
| Butter | ¾ cup (1½ sticks) | Separate from the optional butter in the first recipe |
| Semisweet chocolate chips | 2 cups (12 ounces) | Ready to add after cooking |
| Marshmallow creme | 1 jar (7 ounces) | Not an unmeasured handful of marshmallows |
| Vanilla extract | 1 teaspoon | Add off the heat |
- Prepare the pan. Line a 13-by-9-inch pan the same way. This makes a thinner layer than the smaller square pan used for the condensed-milk recipe.
- Start the sugar mixture. Combine sugar, evaporated milk and butter in a heavy 3-quart saucepan over medium heat. Stir as it heats so sugar dissolves and the bottom does not scorch.
- Cook to temperature. Bring to a full boil and continue stirring while monitoring the thermometer. Cook to 234°F, about 5 minutes after it reaches a full boil; the temperature, not the clock, is the endpoint. Keep the probe from resting against the pan bottom.
- Finish off the heat. Remove the saucepan from the burner and stir in the chocolate chips, marshmallow creme and vanilla until incorporated. Do not add a separate cooling-to-110°F and beating stage to this marshmallow-creme recipe.
- Spread and cool. Transfer to the lined pan, smooth it and let it cool completely before lifting and cutting.
Stay with the saucepan. The NFPA cooking safety guidance advises staying in the kitchen during stovetop cooking. Give the hot sugar pot a clear work area and keep children away while it is being heated and poured. A timer is a reminder, not a substitute for watching the pan.
8 fudge variations and what to watch
Keep the base quantities unchanged when trying an addition. A topping is less disruptive than replacing the main chocolate. Amounts below are starting points, not separately tested formulas.
- Walnut or pecan: Fold in the optional chopped nuts after melting. Chop evenly so large pieces do not tear the slab during cutting, and label the specific nut on a gift tag.
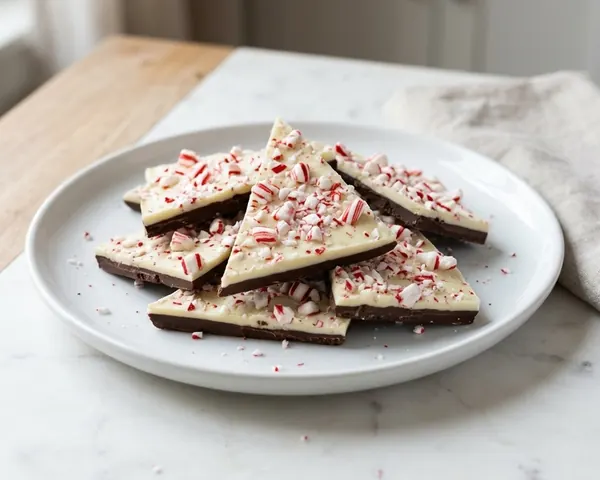
- Peppermint: Stir in ½ teaspoon peppermint extract and scatter crushed candy canes on top before setting. Keep it in a separate container so mint does not flavor the rest of a candy box.
- Rocky road: Fold in 1 cup mini marshmallows and ¾ cup chopped almonds. Let the mixture cool slightly before folding them in so the marshmallows remain pieces rather than disappearing into the chocolate.
- Cookies and cream: Swap to white chips and fold in 15 crushed chocolate sandwich cookies. White chips can behave differently; check the finished texture before planning a large gift batch. Include wheat and other package allergens on the label.
- White chocolate cranberry: Add 1 cup dried cranberries with orange zest. Read the white-chocolate label and do not treat sweetened dried fruit as a reason to reduce the condensed milk or change the base ratio casually.
- Peanut butter: Use peanut butter chips and ½ cup creamy peanut butter. This changes the fat balance and firmness, so make a small practice batch before gifting. It also needs a separate peanut label and careful handling around other candies.
- Maple walnut: Use white chips, 1 teaspoon maple extract and 1 cup toasted walnuts. Keep the nuts evenly chopped for clean cuts and include them on the ingredient label.
- Caramel finish: Swirl ¼ cup thick caramel sauce over the surface only. A softer topping may not cut like the plain base. Do not stir extra thin sauce through the whole batch and expect the original setting ratio to stay unchanged.
Fudge troubleshooting: diagnose before adding anything
| Problem | Check first | What to do |
|---|---|---|
| Condensed-milk fudge is soft | Full chocolate amount, correct milk, enough chill | Chill completely and check measurements. Serve as a topping if it still will not cut; adding random liquid will not help it set |
| Cooked fudge stays soft | Whether the sugar mixture reached the stated temperature | Check the thermometer and method before another batch. Do not use refrigerator firmness as proof the cooking stage was correct |
| Chocolate looks dry or thick | Heat too high or heating continued after melting | Remove from heat. Avoid extra heating to force a thin texture; the mixture should be thick |
| Grainy cooked fudge | Sugar dissolved and correct recipe followed | Follow the cooked recipe's stirring instructions; traditional no-stir/beating advice is not universal |
| Greasy surface | Overheating or an unbalanced variation | Stop heating and record the changes made. Do not add milk as a universal rescue, because it changes the setting ratio |
| Ragged edges | Slab still warm, nuts too large, blade dirty | Chill until firm, lift onto a board and wipe the knife between cuts |
| White marks after thawing | Condensation on the chocolate | Thaw while wrapped or sealed, then open once the slab has adjusted |
The first question is always which recipe did you make? A grainy cooked-sugar batch and a soft condensed-milk batch are different failures. Record the pan, chocolate, milk, additions and chilling time with the recipe so you can change one thing next time.
Storing and freezing homemade fudge
Store fudge airtight, with parchment between layers, away from warm appliances and strong smells. Plan on about 1 to 2 weeks at cool room temperature, 2 to 3 weeks refrigerated, and 2 to 3 months frozen. Those are quality estimates for these chocolate versions, not validated shelf-life guarantees for every variation. For the condensed-milk batch, refrigerating and using it promptly is the more cautious gift plan; do not apply these estimates to cream-cheese fudge or fresh perishable fillings.
Freeze the slab or tightly wrapped portions in an airtight container. Thaw in the refrigerator while still wrapped, then uncover after thawing so condensation stays outside the package. Keep a label with the recipe and preparation date rather than guessing later from appearance. For a long trip or warm-weather delivery, choose a gift that does not depend on chocolate staying firm.
Packing fudge as a gift
Let the fudge set fully before putting it in liners. Put plain and mint varieties in separate packages, then keep a protective sheet between layers so toppings do not stick. A shallow container can be easier to carry without crushing the bottom pieces. Include the date and a full ingredient list, copying compound ingredients from their packages rather than just writing “chocolate.”
The FDA food-allergy guide identifies milk, soy, peanuts and tree nuts among the major allergens. Condensed milk contains milk; chocolate chips and additions may introduce more allergens. Do not label a batch allergy-free because nuts were left out if the ingredients or preparation area do not support that claim.
Use the actual number of pieces you cut to divide a gift batch. Set out the tins before making more candy: larger pieces, deep liners and a fragile topping all change how much fits. Count ingredients, containers and postage in the gift budget, rather than assuming homemade automatically costs less.
For a mixed tin, pair it with peppermint bark, thumbprint cookies or another option from our Christmas candy ideas. Keep each item's storage requirements separate. A refrigerated sweet should not inherit the room-temperature guidance of a dry cookie beside it.
What to make next
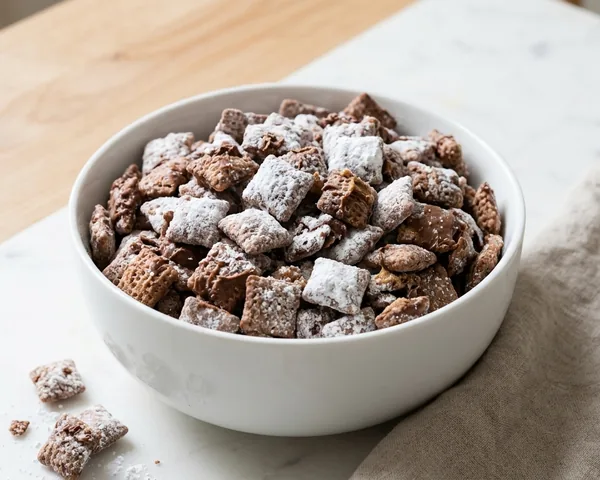
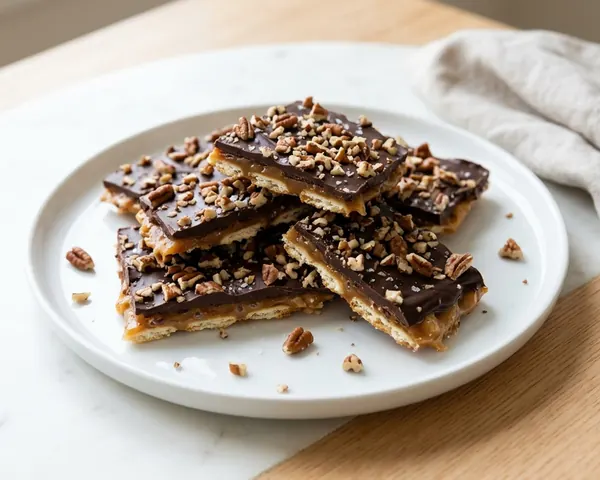
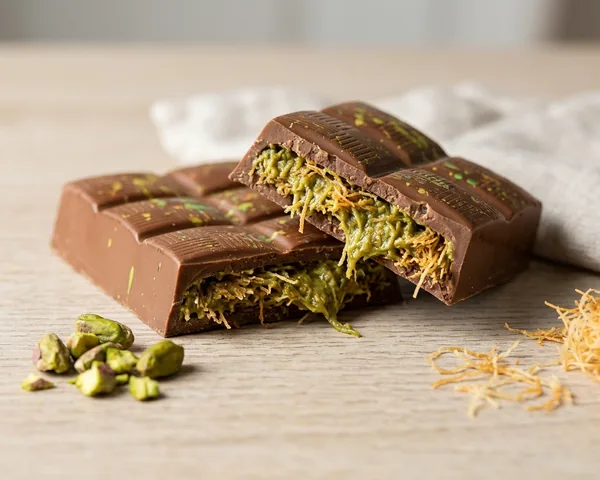
Round out a Christmas cookie box with puppy chow, Rice Krispie treats or crisp Christmas crack, checking the labels for each. For a different filled chocolate project, see Dubai chocolate. Our homemade Christmas gifts guide helps you choose a project that fits your available time.
Supplies for putting the plan together
Affiliate links: we may earn a small commission. As an Amazon Associate we earn from qualifying purchases. Details.
- OXO balloon whisk: For incorporating the cooked version after removing it from the heat; use the saucepan instructions rather than vigorous splashing.
- Glass storage containers with lids: For sealed, separated portions after the candy has set; check container fit before cutting.
More holiday treats and candy you'll love
Frequently asked questions
What is the easiest fudge recipe? For a no-thermometer fudge recipe, use chocolate chips, sweetened condensed milk and vanilla. Measure the chocolate carefully and read the milk label before beginning; evaporated milk is not a replacement in this method.
How do you make fudge with sweetened condensed milk? Sweetened condensed milk fudge is made by gently melting the milk with chocolate, then letting the chocolate firm as it cools. It does not need the separate sugar-boiling and beating stages used by some traditional recipes.
Why is my fudge grainy? Grainy fudge can come from undissolved sugar or an incorrect heating method. Identify the recipe first: the cooked marshmallow-creme recipe here requires stirring during cooking, while traditional beaten fudge has its own instructions. Do not apply a blanket no-stir rule to every fudge.
Why didn't my fudge set? Fudge can remain soft because of an incorrect ingredient ratio, the wrong milk, insufficient chilling or an undercooked sugar mixture. Check the actual recipe used before trying a rescue. Soft chocolate candy can sometimes be served as a topping, but that does not prove a cooked recipe reached its required endpoint.
Can I make fudge without a candy thermometer? The condensed-milk fudge recipe on this page needs no candy thermometer because it melts chocolate rather than cooking a sugar syrup to a target temperature. Use a thermometer for the separate cooked marshmallow-creme method instead of guessing from bubbles.
How long does homemade fudge last? Homemade fudge storage depends on its ingredients and handling. The storage times on this page are quality guides for these chocolate versions, not universal safety limits. Keep the batch sealed and dated, use it promptly and do not apply the same guidance to cream-cheese or fresh-cream recipes.
Can you freeze fudge? Plain chocolate fudge can be wrapped and frozen in portions. Keep the wrap on while thawing in the refrigerator to reduce condensation on the surface, and record the recipe and preparation date so a frozen package is identifiable later.
How much fudge does one batch make? The condensed-milk recipe fills an 8-inch square pan. Cutting that slab into an 8-by-8 grid produces 64 small pieces. Larger cuts or a different pan change the piece count, so count your finished portions before allocating gift tins.
Can I use evaporated milk instead of sweetened condensed milk? Evaporated milk cannot directly replace sweetened condensed milk in the no-boil fudge recipe. The cooked recipe below is designed for evaporated milk plus separate sugar, which is why the two ingredient lists should stay separate.
How do I budget for fudge as a Christmas gift? Budget fudge gifts by adding the actual ingredient, liner, container and delivery costs, then dividing by the gifts the finished batch really fills. HomeBase Paper Co.'s Christmas Budget & Gift Planner can keep those costs beside the recipient list.
Is this really a 3-ingredient fudge recipe? Chocolate chips, sweetened condensed milk and vanilla are the base ingredients. Butter, salt and nuts are optional additions. If you use them, describe your finished batch accurately rather than counting only the base when sharing the recipe.
Do I need to beat condensed-milk fudge? Condensed-milk chocolate fudge does not need the traditional cooling-and-beating stage. Stir it to combine the melted ingredients and spread it into the pan; prolonged beating is not a substitute for correct quantities and adequate chilling.
Can I use a different size pan for fudge? A different pan changes the thickness and the size of each piece. The condensed-milk recipe is written for an 8-inch square; use that pan for the stated yield. Avoid promising the same setting time when using a much deeper layer.
Can I double this fudge recipe? A double batch requires proportionally more ingredients and enough pan space to keep a similar depth. Check saucepan capacity before starting and consider separate batches when your equipment cannot mix the thick candy comfortably. Do not double only the milk.
Can I replace marshmallow creme with miniature marshmallows? Do not substitute an unmeasured amount of miniature marshmallows for the jar of marshmallow creme in the cooked recipe. Use a complete recipe designed for the ingredient you have, since matching sweetness alone does not reproduce the same formula.
Why does my chocolate fudge look oily? An oily surface may follow overheating or a change in the recipe's fat balance. Record the chocolate and additions used, and remove the mixture from further heat. Adding arbitrary amounts of milk can create a new setting problem rather than reliably fixing the batch.
How do I cut fudge for neat gifts? Let the slab become firm enough to lift, use its lining to move it onto a board and wipe the knife after each cut. For nut-filled fudge, smaller chopped pieces help keep the blade from dragging large chunks through the edge.
What should I put on a homemade fudge gift label? A fudge label should identify the recipe, preparation date, storage advice and full ingredients, including ingredients inside chips and toppings. Name the specific nuts used. Never promise an allergy-free batch unless both ingredients and preparation support that claim.
Newsletter
Get the HomeBase email
Fresh tips three times a week, Mon/Wed/Fri, with our deals and new products, from printables, spreadsheets and bundles to paperback planners and apparel, plus simple home, money and planning tips.
Sources
- FDA: Food allergies fda.gov
- NFPA: Cooking safety nfpa.org
Made this? Tell us how it went
Your notes help the next cook: what you changed, how long it took, how it turned out.