The short answer: to install a dimmer switch, turn off the breaker, prove the power is off with a non-contact voltage tester, label and remove the old switch, then connect the dimmer's ground, line and load (plus neutral and travelers if your model uses them), fold the wires in, mount it and test.
- Match the dimmer first: single-pole or 3-way, rated for your bulb type (LED, CFL, incandescent), and rated at or above the total bulb wattage.
- Safety rules that never bend: power off at the panel, test before you touch, copper wire only, no bare wire showing outside a connector.
- Call a licensed electrician for aluminum wiring, no ground, wires that don't match the diagram, scorch marks, or a breaker that keeps tripping.
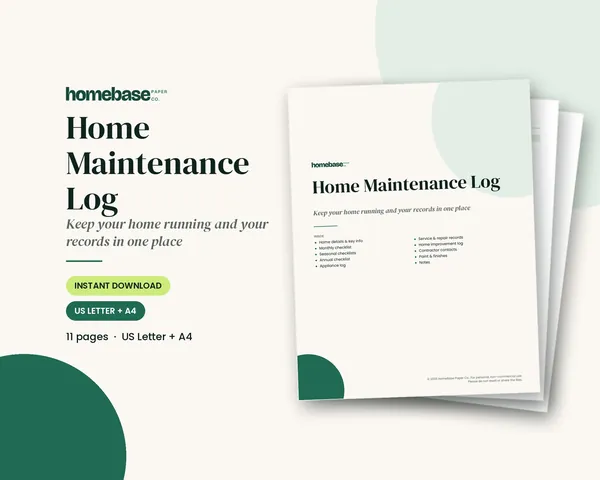
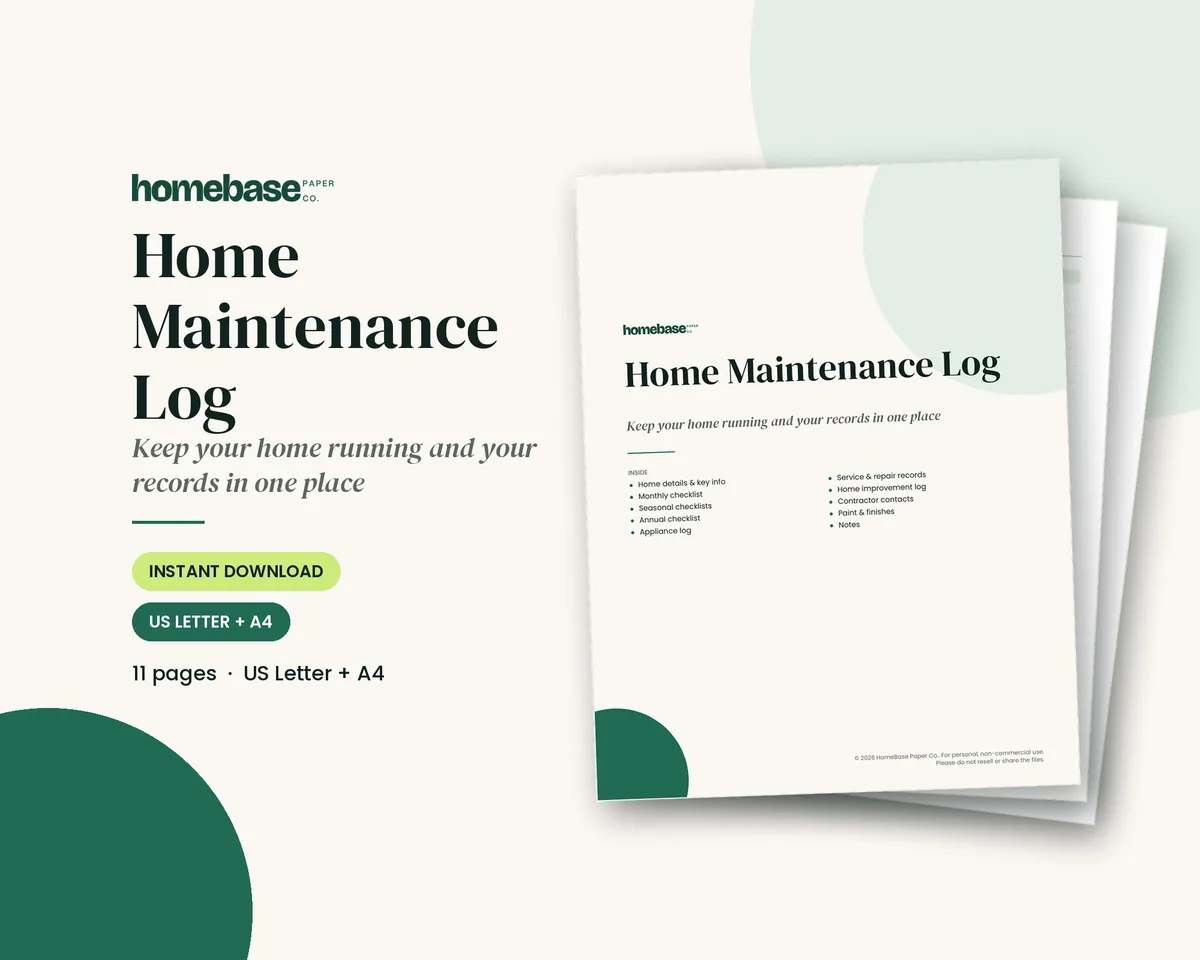
- Free download: get the free home inspection checklist (we email it to you) to walk every switch and outlet in the house. To keep model numbers and dates in one place, the Home Maintenance Log is $5.99.
Facts checked November 15, 2026, against the U.S. Consumer Product Safety Commission (CPSC), the National Fire Protection Association (NFPA), ENERGY STAR, the U.S. Department of Energy and Leviton's published dimmer instructions. Below: quick steps, tools, dimmer types, wire colors, LED compatibility, wiring steps, troubleshooting and when to hire a pro. Your dimmer's own instruction sheet and your local code always come first.
How to install a dimmer switch: the quick steps
- Pick the right dimmer. Match the switch type (single-pole or 3-way), the bulb type and the total wattage.
- Turn off the breaker for that light and tell everyone at home not to touch the panel.
- Test for power with a non-contact voltage tester at the switch, before and after you pull it out.
- Label the wires on the old switch with masking tape, then disconnect it.
- Prepare the wire ends so they are straight and stripped to your dimmer's strip gauge.
- Connect ground first, then line, load and any neutral or travelers.
- Fold the wires into the box, mount the dimmer with its screws and add the wall plate.
- Restore power and test the full dimming range, from bright to low.
Safety first: turn off power and verify it
NFPA reports that local fire departments responded to an estimated average of 46,652 home structure fires a year from 2020 to 2024 that involved electrical failure or electrical distribution and lighting equipment. NFPA's first safety tip is to have electrical work done by a qualified electrician. If you do a simple swap yourself, follow every rule below.
- Turn off the right breaker. Flip the breaker or remove the fuse for that circuit, not just the wall switch. Leave the wall switch in the off position, too.
- Warn the household. Tape a note on the panel so nobody turns it back on while you work.
- Test before you touch. Hold a non-contact voltage tester to the switch and to each wire. Check the tester first on an outlet you know is live, so you know it works.
- Test again after you pull the switch out. Some boxes hold wires from more than one circuit. Every wire should read dead.
Leviton's RDL06 dimmer sheet opens with the same warning and says to consult an electrician if you are unsure of any step.
Tools and materials
This list matches what the Lowe's, Legrand and Leviton install guides call for.
| Tool or material | What it's for. |
|---|---|
| Non-contact voltage tester | Proves the wires are dead before you touch them. |
| Flat and Phillips screwdrivers | Wall plate, mounting screws and terminal screws. |
| Wire stripper and cutter | Straightens and strips wire ends to the right length. |
| Wire connectors (wire nuts) | Joins the dimmer leads to the house wires. Many dimmers include them. |
| Masking tape and a marker | Labels each wire before you disconnect the old switch. |
| Electrical tape | Wraps connectors and marks the common wire on a 3-way. |
| The new dimmer and its instruction sheet | Your sheet's diagram and ratings rule over any general guide. |
Single-pole vs 3-way dimmer: which one do you need?
| Question | Single-pole | 3-way. |
|---|---|---|
| How many switches control the light? | One location. | Two locations, such as the top and bottom of stairs. |
| Terminals on the old switch | Two terminals plus ground. | Three terminals plus ground, with one darker or labeled "common." |
| Dimmer to buy | Single-pole dimmer, or one rated single-pole/3-way. | 3-way dimmer, or one rated single-pole/3-way. |
Three or more locations need a multi-location dimmer with matching companion switches. Leviton's dimmer buying guide explains that in a 3-way setup, one location usually gets the dimmer and the other keeps a 3-way switch that only turns the light on and off. Its RDL06 sheet says to use only one dimmer in a 3-way or 4-way circuit.
Dimmer switch wiring: wire colors and what they do
Colors are a starting point, not proof. Label what is actually connected before you remove anything.
| Wire or lead | Usual color | Where it goes. |
|---|---|---|
| Ground | Bare copper or green | Green ground screw or green dimmer lead. |
| Line (hot from the panel) | Black | One dimmer terminal or lead, often black. |
| Load (to the light) | Black or red | The other dimmer terminal or lead, often red. |
| Neutral | White | Neutral lead, only on dimmers that require one. Otherwise left as it was in the box. |
| Travelers (3-way only) | Red, black or another color | The two traveler terminals or leads. |
| Common (3-way only) | Attached to the darker or "common" screw | The dimmer's common terminal or black lead. |
On Leviton's RDL06 diagram, the dimmer has a green ground lead, a black lead and two red leads. For single-pole use, one red lead stays capped with its insulating label. A white wire attached to your old switch may not be a neutral. Treat every wire as live until your tester says otherwise, and call an electrician if the colors don't make sense.
LED-compatible dimmers and wattage: how to choose
Check the bulb and the dimmer together
ENERGY STAR's guide to dimmable LED lighting says most ENERGY STAR certified LED bulbs are dimmable, but you should check the package for the word "dimmable." It also says not every bulb works well with every dimmer. When you buy a new dimmer, check the website on the bulb package for recommended dimmers. ENERGY STAR certified dimmable bulbs dim to at least 20% of their light.
The Department of Energy explains why matching matters. In its report on dimming LEDs with phase-cut dimmers, DOE found LED products that would not dim, dimmed erratically, turned off early, flickered, stayed on when off or made audible noise.
Bulb tips that help:
- Buy bulbs labeled "dimmable."
- Don't mix bulb types on one dimmer. Leviton's sheet says all bulbs should be LED, CFL or incandescent, and the same make and model helps.
- Use the dimmer's adjustment if it has one. Some dimmers need calibration or a low-end trim at install, per Legrand.
Add up the wattage
Add the watts of every bulb on the switch. Your total must be at or below the dimmer's rating for that bulb type. LED ratings are lower than incandescent ratings on the same dimmer. Leviton's RDL06, for example, is rated 600W incandescent and 150W for dimmable LED and CFL.
| Example (assumptions) | Math | Fits a 150W LED rating? |
|---|---|---|
| Six 9W LED recessed lights | 6 × 9 = 54W | Yes, with room to spare. |
| Four 60W incandescent bulbs | 4 × 60 = 240W | Use the 600W incandescent rating instead: yes. |
Use the bulb's actual watts, not its "60W equivalent" claim.
Derating when dimmers share a box
Two or more dimmers in one wall box run hotter, and breaking off side fins to fit them lowers capacity. Leviton's buying guide gives this derating chart for its dimmers:
| Dimmer type | 1 dimmer | 2 dimmers | 3 dimmers. |
|---|---|---|---|
| Dimmable LED or CFL | No derating. | No derating. | No derating. |
| Incandescent or halogen | 600W each. | 500W each. | 400W each. |
| ELV (electronic low voltage) | 400VA each. | 350VA each. | 250VA each. |
Other brands publish their own charts, so use the one in your dimmer's instructions.
What not to put on a dimmer
- Ceiling fans. Lowe's says not to install a dimmer on a ceiling fan switch. Fans need a fan-rated speed control.
- Outlets, motors and transformer appliances. Leviton's sheet says not to use its dimmer to control a receptacle, fluorescent lighting, a motor or a transformer-operated appliance.
Step-by-step: replace a light switch with a dimmer
A typical single-pole install, with 3-way notes. Your dimmer's sheet wins if it differs.
- Turn off power and test. Breaker off, wall switch off, tester on the switch. No reading means you can open it.
- Remove the wall plate and mounting screws. Gently pull the switch straight out of the box. Leave the wires attached for now.
- Test again on every wire in the box.
- Label the wires. Put masking tape on each wire attached to the switch. On a 3-way, find the darker or "common" screw and mark that wire with electrical tape.
- Check the box. Look for aluminum wire, burn marks, brittle insulation or a missing ground. If you see any of these, stop and call an electrician.
- Disconnect the old switch. Loosen the terminal screws, or cut the wires right at the switch if they are pushed into back holes.
- Prepare the wire ends. Straighten each wire, cut off damaged ends and strip to the length shown on your dimmer's strip gauge. Leviton's RDL06 calls for 5/8 inch.
- Connect the ground. Join the dimmer's green lead or screw to the bare copper or green wire in the box.
- Connect line and load. On a single-pole dimmer with leads, Leviton says to connect the black lead to either wire removed from the old switch and the red lead to the other, unless your dimmer marks line and load. Twist wire connectors on clockwise until no bare copper shows below them.
- 3-way only: connect common and travelers. Connect the dimmer's common lead to the wire you tagged as common. Connect the two traveler leads to the two remaining switch wires.
- Connect the neutral if required. Smart and some LED dimmers need a neutral. Join their neutral lead to the white neutral bundle in the box. If there is no neutral bundle, see troubleshooting below.
- Tug test. Pull gently on each wire, and tape connectors if your sheet says to.
- Fold the wires in and mount the dimmer. Push the wires to the back of the box, screw the dimmer to the box and attach the wall plate.
- Restore power and test. Turn the breaker on, then run the light from full bright to the lowest setting. On a 3-way, test it from both switches.
Troubleshooting a new dimmer switch
| Problem | Likely cause | What to do. |
|---|---|---|
| Light doesn't turn on | Breaker tripped, bulb out, loose connection or a neutral not wired on a dimmer that needs one. | Power off, check every connector, check the bulb, then reread the diagram. |
| Flicker | Bulb and dimmer aren't a good match, a loose connection, or mixed bulb types. | Check the bulb maker's compatible dimmer list. Adjust the low-end trim if your dimmer has one. |
| Buzzing or humming | Common with some LED bulbs on phase-cut dimmers. | Try a bulb on the dimmer's compatibility list. If the dimmer itself sizzles or smells, shut it off and call an electrician. |
| Dimmer feels warm | Some dimmers get warm in normal use. | Hot, painful to touch or discolored is not normal. Turn it off and get it checked. |
| Breaker trips when you turn it on | A short or overload. | Leave it off and call an electrician. Don't keep resetting it. |
No neutral wire in the box? Many basic dimmers are "two-wire" and don't need one. DOE explains that two-wire dimmers can struggle to power advanced features, and dimmers with a neutral avoid many LED problems. If you want a smart dimmer, buy one rated for no-neutral use, or ask an electrician about adding a neutral.
Warm vs hot. The CPSC's home electrical safety checklist says unusually warm outlets or switches may mean an unsafe wiring condition, such as a loose connection that can start a fire. It notes that some dimmer switches may become warm during normal use. It also warns that a loose screw holding a wire or a worn-out switch can lead to arcing, overheating or fire.
When to call a licensed electrician
NFPA says to call a qualified electrician or your landlord for frequent tripped breakers, a tingle when you touch an appliance, warm or discolored outlets, a burning smell, flickering or dimming lights, or sparks. Add these dimmer-specific reasons:
- Aluminum wiring. The CPSC warns that aluminum wire connected to switches tends to loosen, lose contact and overheat. Leviton's RDL06 sheet says copper or copper-clad wire only.
- No ground wire or a metal box with no clear ground path.
- Wires that don't match any diagram, extra wires on the switch or more than one circuit in the box.
- Scorch marks, melted insulation or a burning smell.
- New wiring: a new circuit, switch location or neutral.
- You rent. Ask your landlord before you change any electrical device.
Permits and local rules
Permit rules vary by state, county and city. Some places let homeowners swap a switch without a permit; others require a permit, inspection or licensed electrician for any electrical work. Lowe's guide tells readers to check whether they need a permit and to follow local codes. Check with your local building department before you start.
Keep a record of what you installed
Write down:
- Dimmer brand, model and rating, plus the date installed.
- Bulb brand, model and wattage that dimmed well, so replacements match.
- Breaker number for that room.
Our home maintenance checklist adds switches and outlets to the monthly safety walk, and the property maintenance log template guide shows what else to track. When you test smoke alarms, review your fire escape plan too.
These HomeBase printables help:
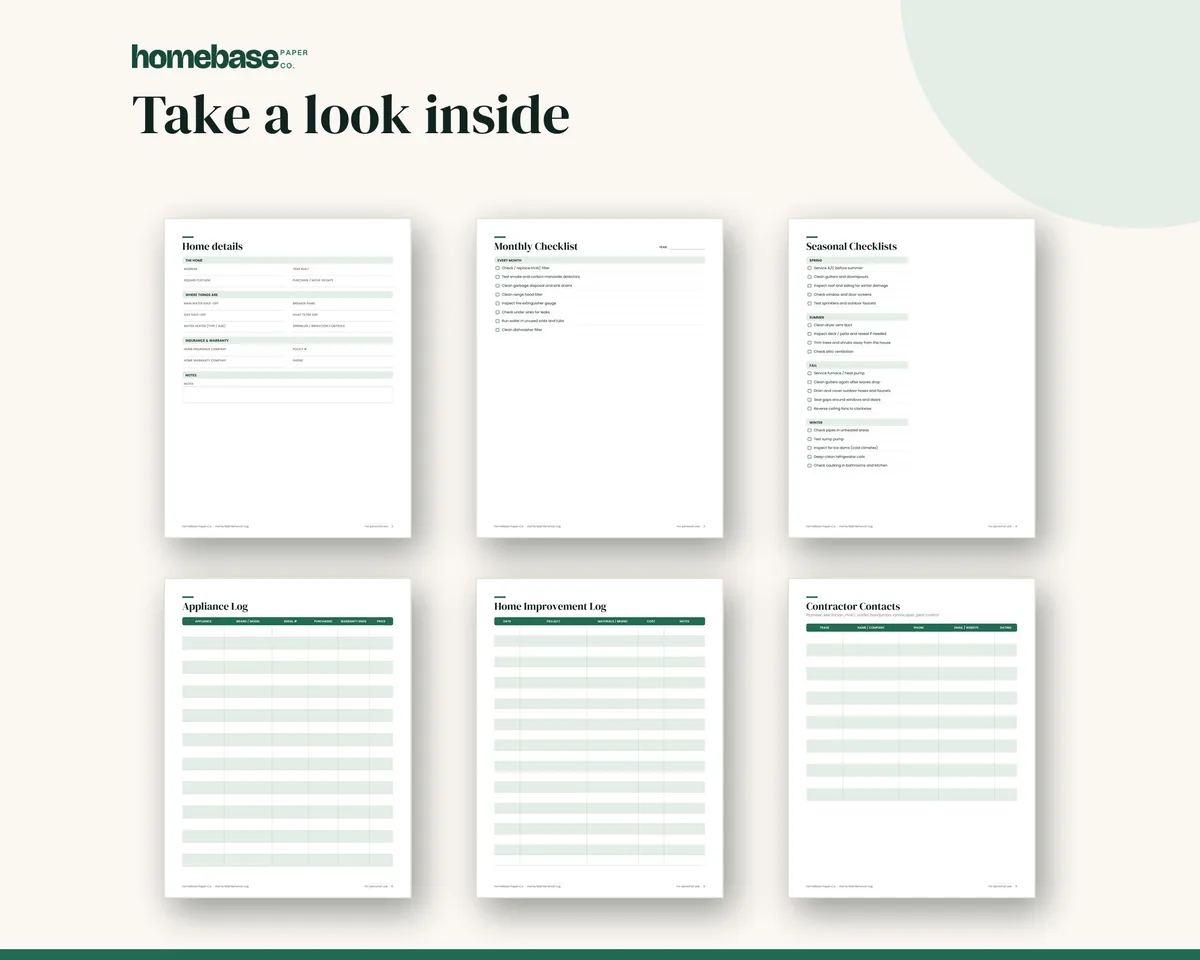
- Home Maintenance Log, $5.99: monthly, seasonal and annual tasks plus appliance, repair and contractor records.
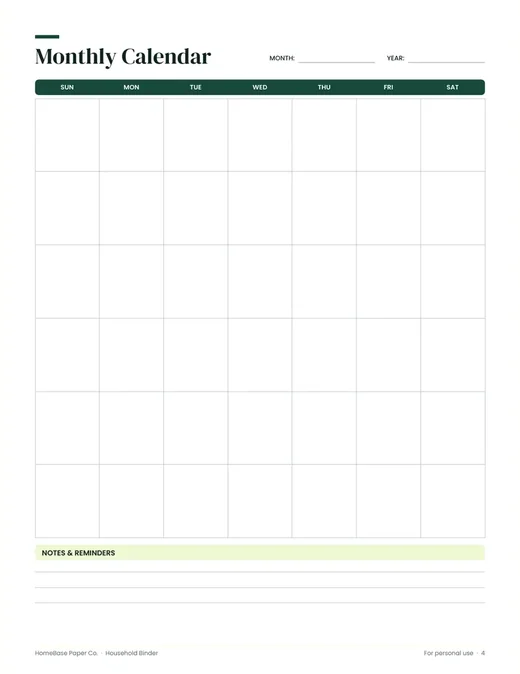
- Household Binder, $6.99: family info, emergency plan, calendars and bills in one binder. See the home management binder guide.
Browse more home printables on the Home shop page or the money-saving sets on the Bundles page.
Frequently asked questions
How do you install a dimmer switch? To install a dimmer switch, turn off the breaker, confirm the power is off with a voltage tester, remove the old switch and label its wires. Connect the ground, then line and load (plus neutral or travelers if needed), fold the wires in, mount the dimmer and test it.
Can I install a dimmer switch myself? Many homeowners can replace a standard switch with a dimmer, but NFPA recommends having electrical work done by a qualified electrician. If you do it yourself, turn the breaker off, test for power, follow the dimmer's instructions exactly, and check local permit rules first.
Do I need a neutral wire for a dimmer switch? Not always. Many basic dimmers are two-wire devices that connect only to line, load and ground. Smart dimmers and some LED dimmers need a neutral, which is typically a white wire in the box. Check the dimmer's package before you buy.
What is the difference between a single-pole and a 3-way dimmer? A single-pole dimmer controls a light from one location, and a 3-way dimmer works with a second switch so the light can be controlled from two places. A 3-way switch has a third terminal, usually darker or labeled common, for the common wire.
What wire goes where on a dimmer switch? The bare copper or green wire goes to the dimmer's ground, the line wire from the panel goes to one terminal and the load wire to the light goes to the other. On some single-pole dimmers with leads, line and load are interchangeable, but follow your dimmer's diagram.
Can you put a dimmer on LED lights? Yes, if the LED bulbs are labeled dimmable and the dimmer is rated for LEDs. ENERGY STAR says not every bulb works well with every dimmer, so check the bulb maker's list of recommended dimmers. Don't mix LED, CFL and incandescent bulbs on one dimmer.
How many LED lights can I put on one dimmer? Add up the actual watts of every bulb and keep the total at or below the dimmer's LED rating. For example, a dimmer rated 150W for LEDs can handle six 9W bulbs (54W) with room to spare. Use the real wattage, not the incandescent equivalent.
Why does my dimmer switch buzz? A dimmer usually buzzes because of the bulbs, not the wiring. The Department of Energy found some LED products make audible noise on phase-cut dimmers. Try a bulb on the dimmer's compatibility list. If the dimmer sizzles, smells or gets hot, turn it off and call an electrician.
Why do my LED lights flicker on a dimmer? LED flicker on a dimmer usually means the bulb and dimmer aren't a good match, a connection is loose, or bulb types are mixed. Check the compatibility list, adjust the low-end trim if your dimmer has one, and turn the power off to check every wire connector.
Is it normal for a dimmer switch to get warm? Yes, a dimmer can feel warm. The CPSC notes some dimmer switches become warm during normal use. A switch that is hot, painful to touch or discolored is not normal and may mean a loose connection, so stop using it and have an electrician check it.
Can I put a dimmer on a ceiling fan? No. Lowe's install guide says not to install a dimmer on a ceiling fan switch, and dimmers are not meant for motors. Use a fan speed control made for ceiling fans, and keep the light kit on a separate dimmer rated for those bulbs.
Do I need a permit to install a dimmer switch? It depends on where you live. Some cities and counties let homeowners replace a switch without a permit, while others require a permit or a licensed electrician for any electrical work. Check with your local building department before you start.
What printable helps me track home repairs like a new dimmer? The Home Maintenance Log ($5.99) is a printable with monthly, seasonal and annual tasks plus appliance, repair and contractor records. Use it to note the dimmer model, the bulbs that dimmed well, the breaker number and the install date. It prints on US Letter or A4.
Is there a binder for all my household information? The Household Binder ($6.99) is a printable for family info, an emergency plan, calendars, meals, cleaning and bills in one place. It works well with a breaker map and repair notes. Our free home inspection checklist, which we email to you, pairs well with it.
Newsletter
Get the HomeBase email
Fresh tips three times a week, Mon/Wed/Fri, with our deals and new products, from printables, spreadsheets and bundles to paperback planners and apparel, plus simple home, money and planning tips.
Sources
- Electrical Safety in the Home (NFPA) nfpa.org
- Your Guide to Dimmable ENERGY STAR LED Lighting (ENERGY STAR) energystar.gov
- Dimming LEDs with Phase-Cut Dimmers: The Specifier's Process for Maximizing Success (U.S. Department of Energy) www1.eere.energy.gov
- Home Electrical Safety Checklist (CPSC) cpsc.gov